
Contact Wicket
04 Mar 2007
Previously, I had made a Contact Hoop for helping Meeker hit his contacts; after working with Dana Pike on contacts she pointed out I needed to change his contact point for the smaller USDAA upside dog walk contact. So I needed to make another contact hoop. This time I decided to make a wicket style hoop.
Wicket hoops are simple and cheap to make, here is the parts list:
- One 10 foot length of 1/2 inch PVC
- Two 90 degree PVC connectors
- Two "T" connectors
- PVC glue (optional)
The PVC parts were less than $10 and you just need a hand saw to cut the PVC.
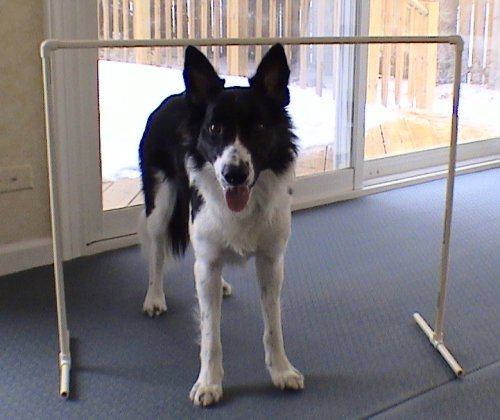
The only decisions to make are how high and wide to make the wicket. I went with a wicket a little taller than Meeker; he is just under 21 inches at the withers so I cut the vertical pieces to 26 inches, I figured about 8 inches for each of the four legs, that left 36 inches for the width. For a bigger dog or if you want a wider hoop for use with wide A Frames you might need a second piece of PVC (then you might as well make two while you are at it). Here is a picture of the assembled hoop with Meeker standing under it:
Meeker and His New Contact Wicket
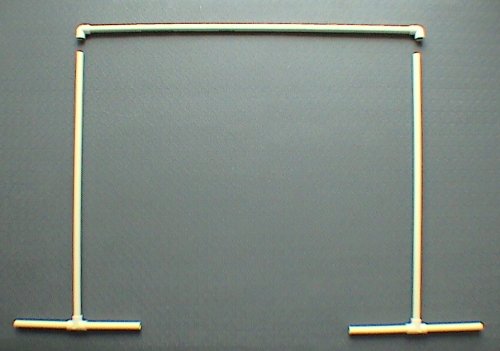
Since I transport these to Meeker’s classes I decided to not glue the pieces entirely together. I only glued the legs and uprights to the “T” connectors and glued the 90 degree connectors to the vertical piece. At class I just jam the pieces together.
Disassembled Contact Wicket
So by placing the first wicket about 4 feet out from the upside and the second wicket about 5 feet out from the downside, Meeker is now consistently hitting the up and downside contacts on the dog walk at full speed. I will remove the downside wicket and start adding his stops once the weather allows us to work outdoors. Then I’ll start removing his upside wicket after that.
If you enjoyed this article won't you please:  Thanks!