How to Build Dog Agility Courses - Video
28 Jul 2025
If you’d like to build a dog agility course from a map I’ll lay out the steps and some tips I’ve learned from building hundreds of courses. It’s pretty straightforward!
Planning
Make sure the course fits in your space. You can use Agility Course Master, with a Masters subscription, to resize a course map to fit your space.
Align the map so the long side (axis) of the map aligns with the desired side of your space.
- Make certain there is enough space around the sides of the obstacles for dogs/handlers to be safe.
- If your space has specific entry/exits align the map to match them if possible.
Equipment
It is best to have a long tape measure, as long as or longer than your space, and a measuring wheel. Though you can get by with just a long tape measure and another tape measure.

Some folks have practiced taking fixed length strides and can semi-accurately pace off a distance and avoid using any measuring tools. I’d always recommend using a tape and a wheel whenever possible.
I sometimes use a combined approach. I know my shoes are almost exactly one foot long. So I’ll walk along the tape for the first coordinate and then I’ll walk heel-to-toe from the tape to the obstacle position. It looks funny but it works! 🤣

Some indoor facilities have the coordinates taped/painted on the walls surrounding the turf/dirt. You can use them to eye-ball the obstacle locations. But, I still recommend using a tape and measuring wheel for better accuracy.
You want to be as accurate as possible, but the judge will (or did) adjust the obstacles for safety and to provide the desired challenges. IMO if you are within a foot of the map location you are close enough.
Building the Course
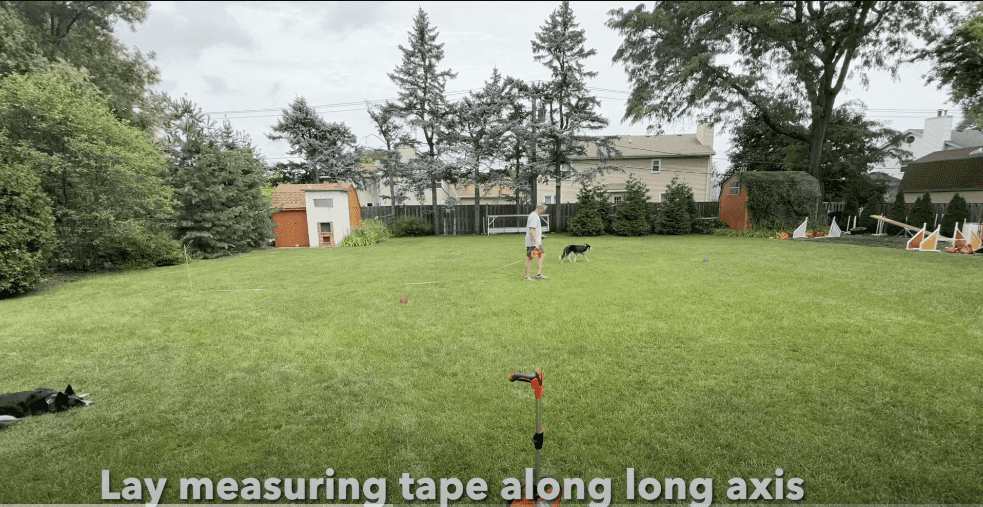
- Layout the long tape along the longest side of the course starting at the zero location. The most accurate way to build a course is to have a map with one of the axes down the middle of the course. That cuts down on measurement error.
Here are two example maps of the same course. The first has the 0, 0 location in the top left and the second has the 0, 0 location at the left center. The thick red line is where you’d unroll your long measuring tape:


- You’ll use a jump bar to mark the location of each obstacle (including each end of contacts, weaves, and tunnels). Drop bars at each location with the bar rotated at the correct angle. Having a helper providing the bar dropper with a supply of bars makes it go faster.
- To locate each bar walk along the tape until you get to the “X” number of the obstacle. On an official course builder map (shown below) the first number is almost always the X number1. Then use the wheel to measure from the tape to the “Y” number on the map.
If your map doesn’t have X, Y locations you’ll have to estimate them using the grid lines and numbers along the edges of the map.
Start measuring from the tape with the wheel to the obstacles that are furthest from the tape. This keeps bars< contacts, weaves, tunnels from getting in the way of your wheeling. If you have multiple maps and people measuring and placing bars it helps to split the course in half to keep out of each other’s way.

- Once the bars are dropped move the largest obstacles (contacts, weaves) into place first with their ends aligning to the dropped bars. Then remove those bars. Position tunnels under contacts last.
- Bring in the jump wings/uprights and place them on each end of the remaining jump bars.
- Use the map to see if the obstacles are rotated at the correct angle by comparing how the obstacles are rotated relative to one another. See my article Use Sight Lines to Accurately Setup/Build Agility Courses for details.
Here is a short time lapse video of me using this technique to set up the simple course map in this example.
I hope this is helpful!
- I’ve seen one or two course builder maps where the long axis/direction is the vertical (Y) axis and then some course design software puts the Y measurement first and the X measurement second; the thinking being you’ll first walk along the Y axis and then use the wheel to walk to the X measurement. They really confused me when I first tried to use them and ended up in the wrong place!↩
If you enjoyed this article won't you please:  Thanks!
