Backyard Agility LED Lighting
05 Apr 2020
From late Fall to early Spring in Chicago it gets dark early and makes agility practice after work impossible. Years ago I’d put 500 watt halogen work lights on the roofs of the sheds in the corners of my backyard and they provided decent light over most of the yard. They finally stopped working and I found and installed brighter, lower power consumption waterproof outdoor LED lights.
This installation may not be legal in your area or safe. If in doubt, hire a certified electrician to do this for you.
I bought two different fixtures. The first one I bought was this three head 150 watt fixture.
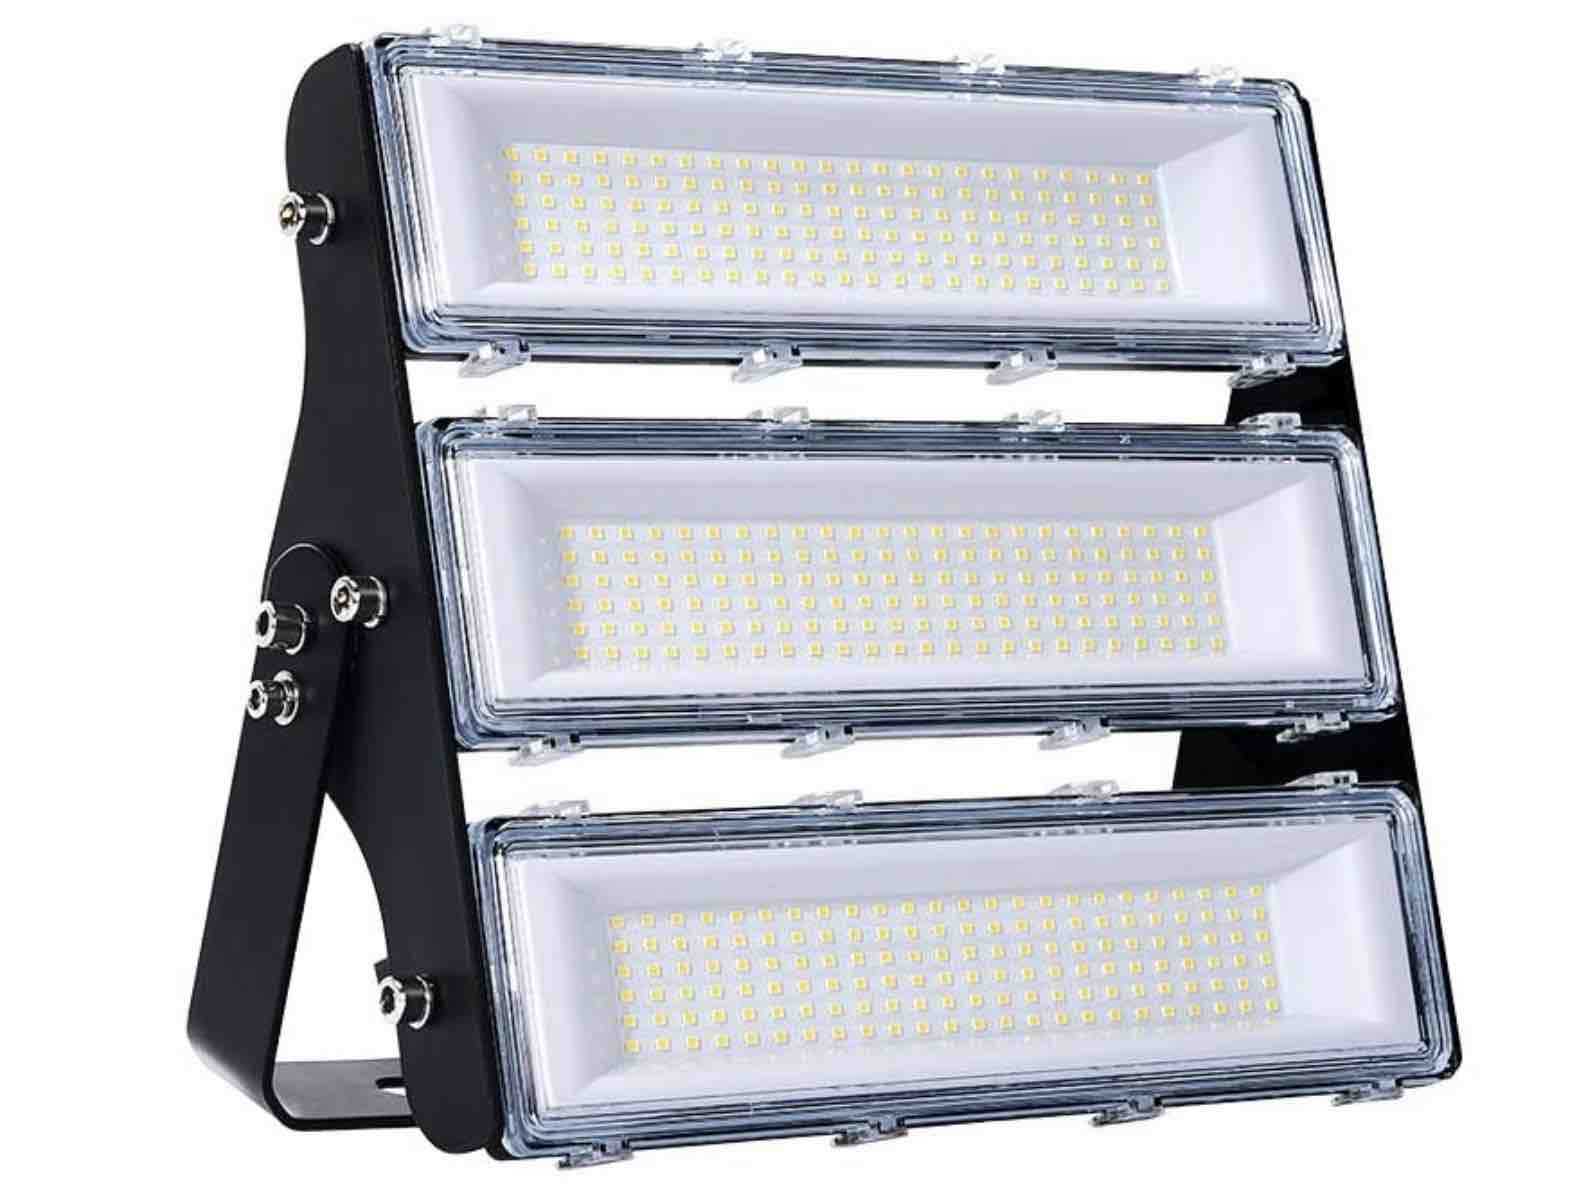
I liked that it allowed each of the lights to be rotated so I could light a large arc of the area with a single fixture.
Though, after I installed it and saw just how bright it was, I bought a smaller single 50 watt fixture to put on the other shed.
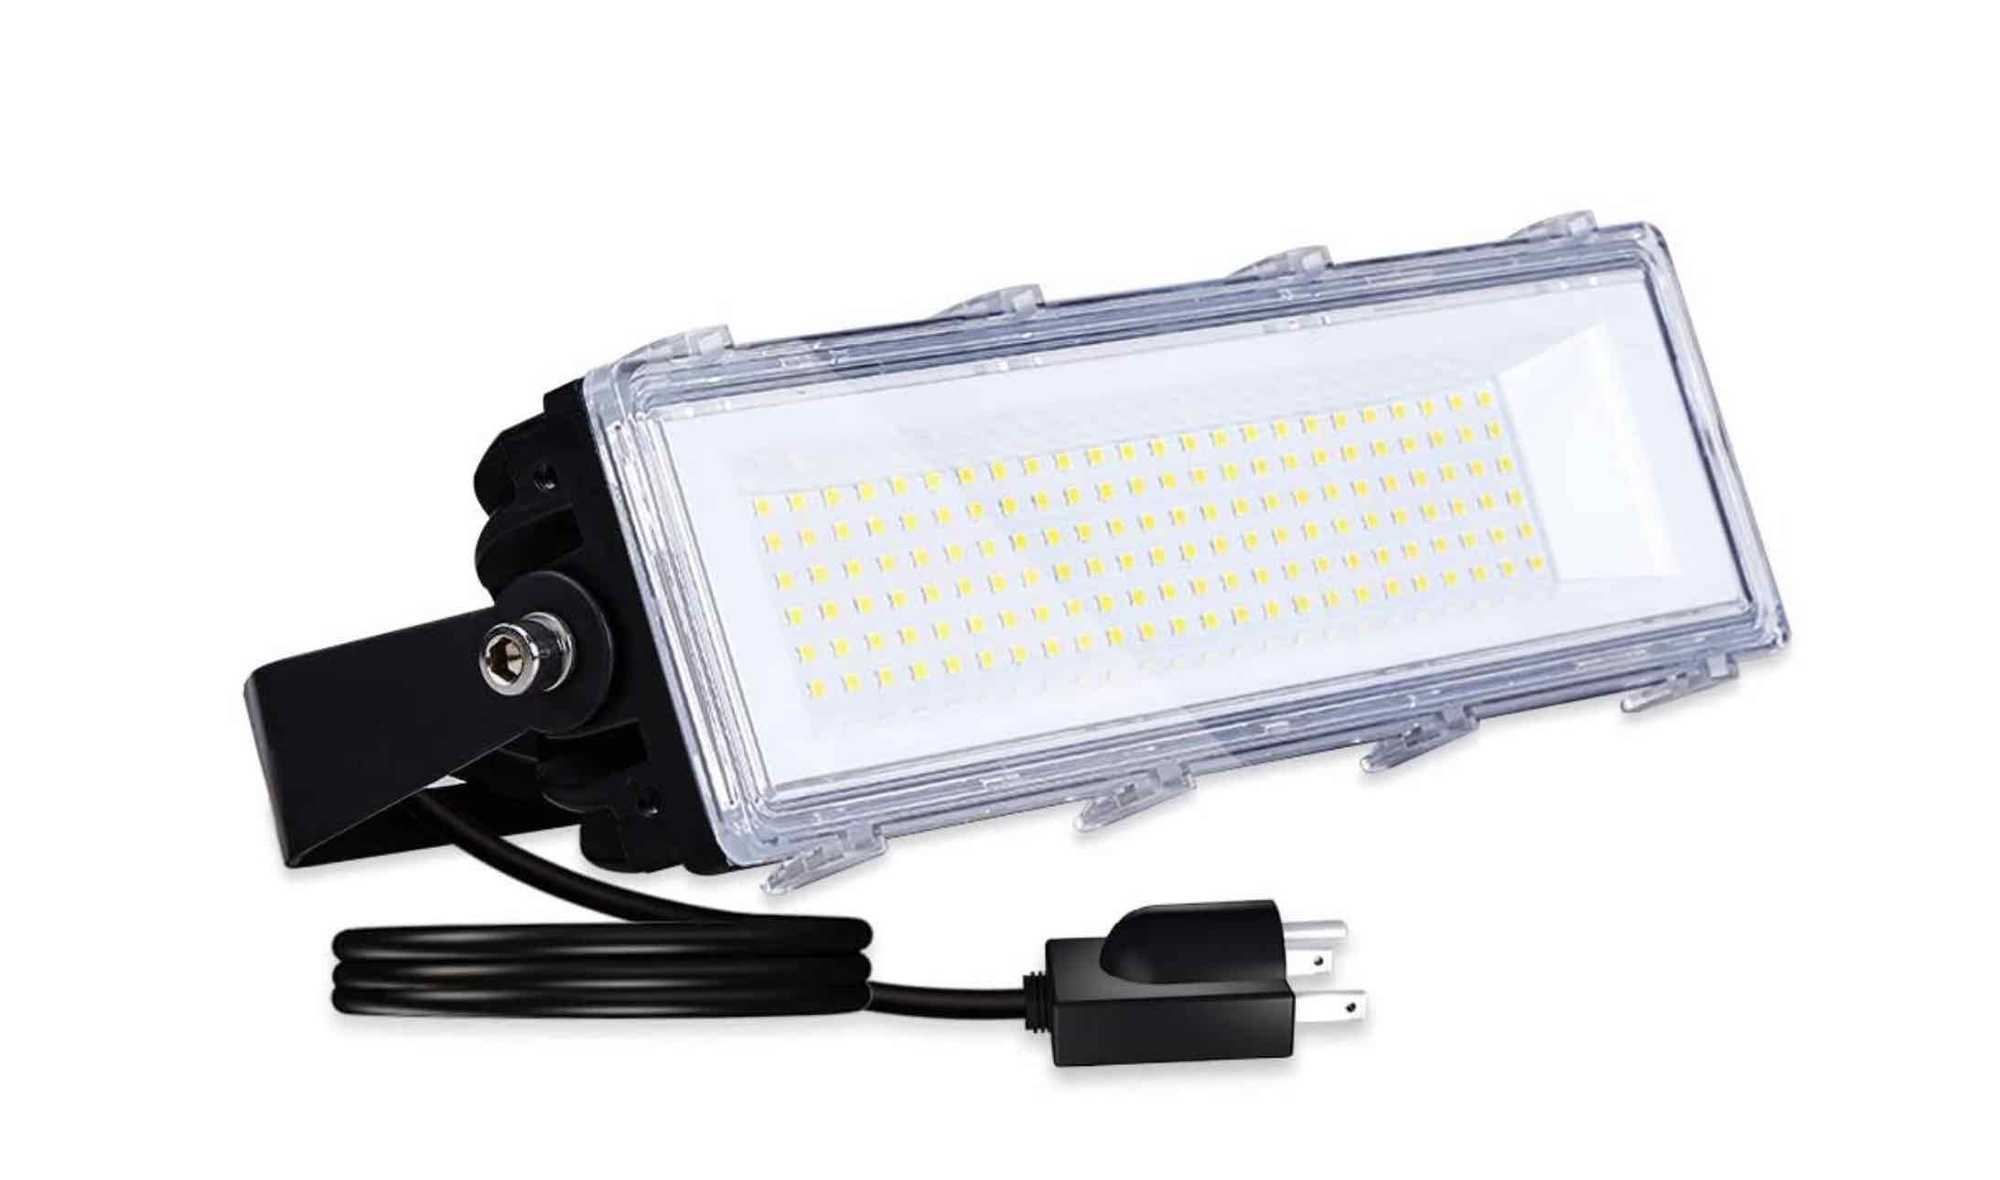
You can get outdoor LED lights wired with or without plugs. I chose models with plugs so I could plug them into existing GFCI outlets.
The amount of light provided by a fixture is specified in “lumens”, during my search I found a wide variation in the claimed lumens for a given amount of power (watts). Though as a rule of thumb, a 50 watt LED fixture seems to put out as much light as 450-500 watt standard floodlight.
Mounting
The challenge with the mounting brackets on these lights was they were designed to for mounting on the side of a building or under the eaves. My sheds aren’t tall enough for that to work, the light would be right at eye level. If I mounted it at the peak of the shed on the side it wouldn’t point in the right direction.
So I decided to mount the three light fixture vertically on a piece of electrical conduit so I could mount it above the shed roof and rotate each light to cover an arc of the lawn. I’d say the lights are approximately 14 feet off the ground.
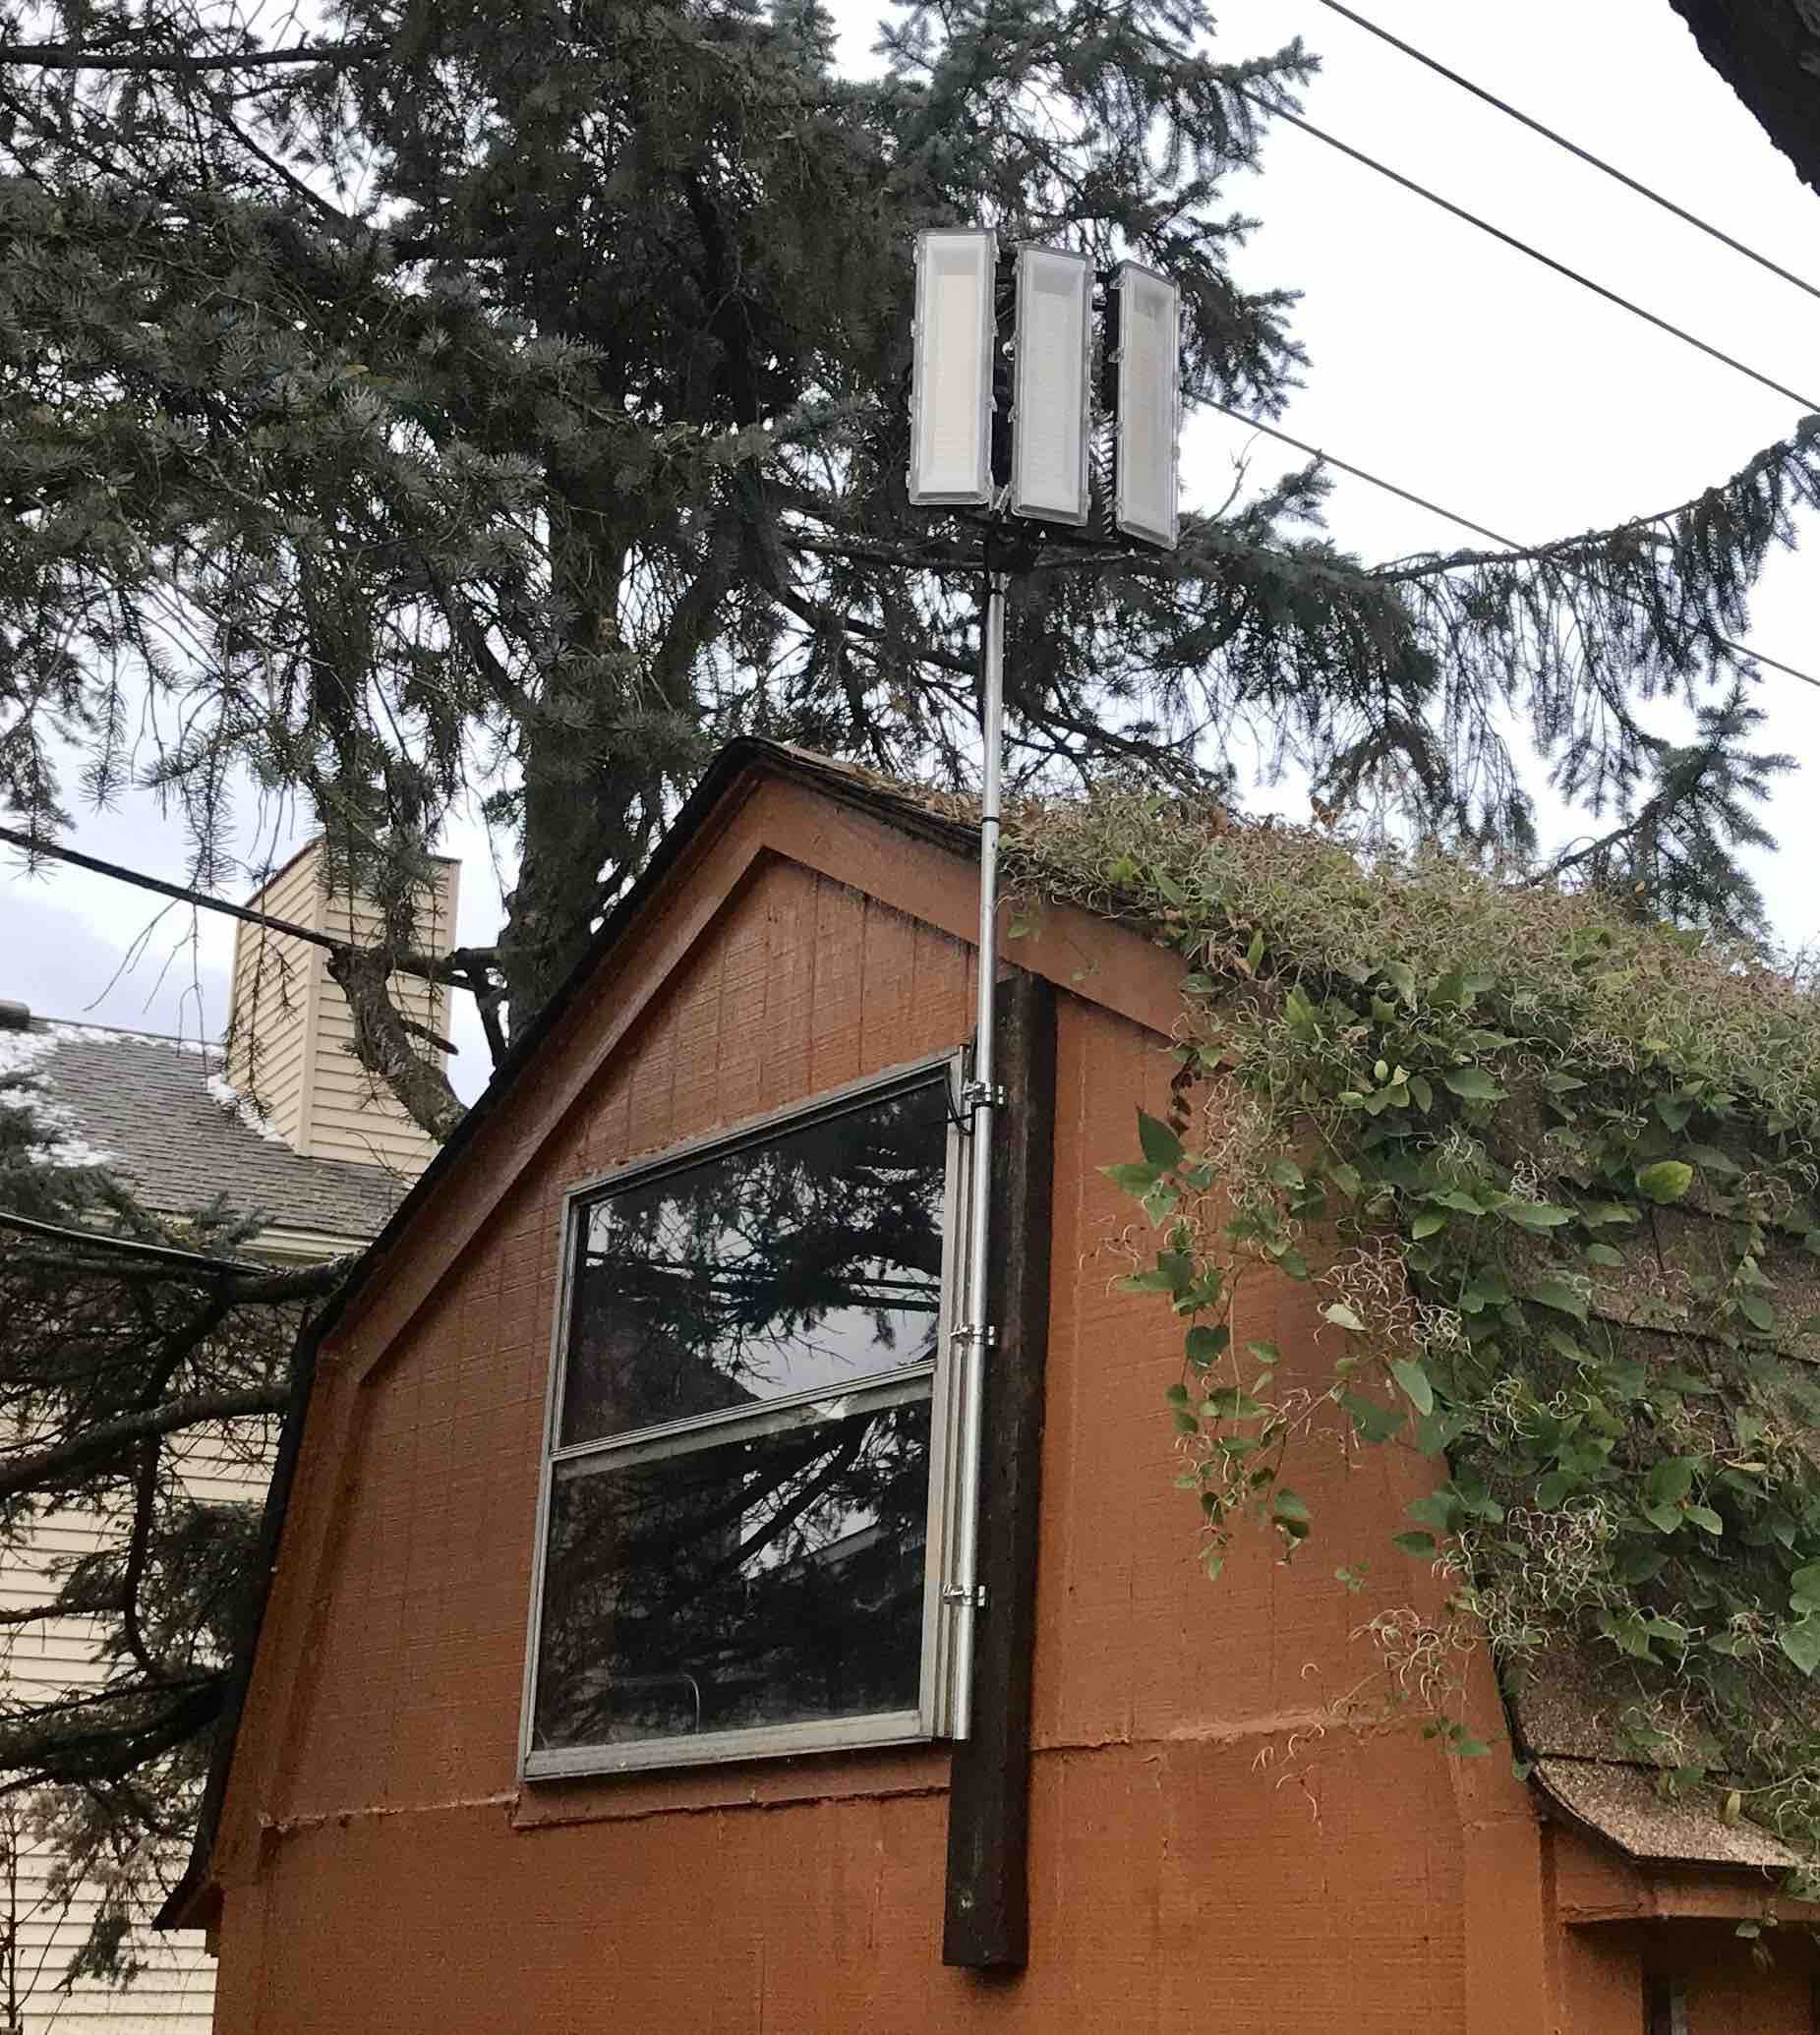
The edge of the roof extends past the side of the shed to which I mounted the pole, so I used deck screws to attach a scrap piece of pressure-treated 2x4 (that I’ll paint some warm day) so the pole would clear the roof:
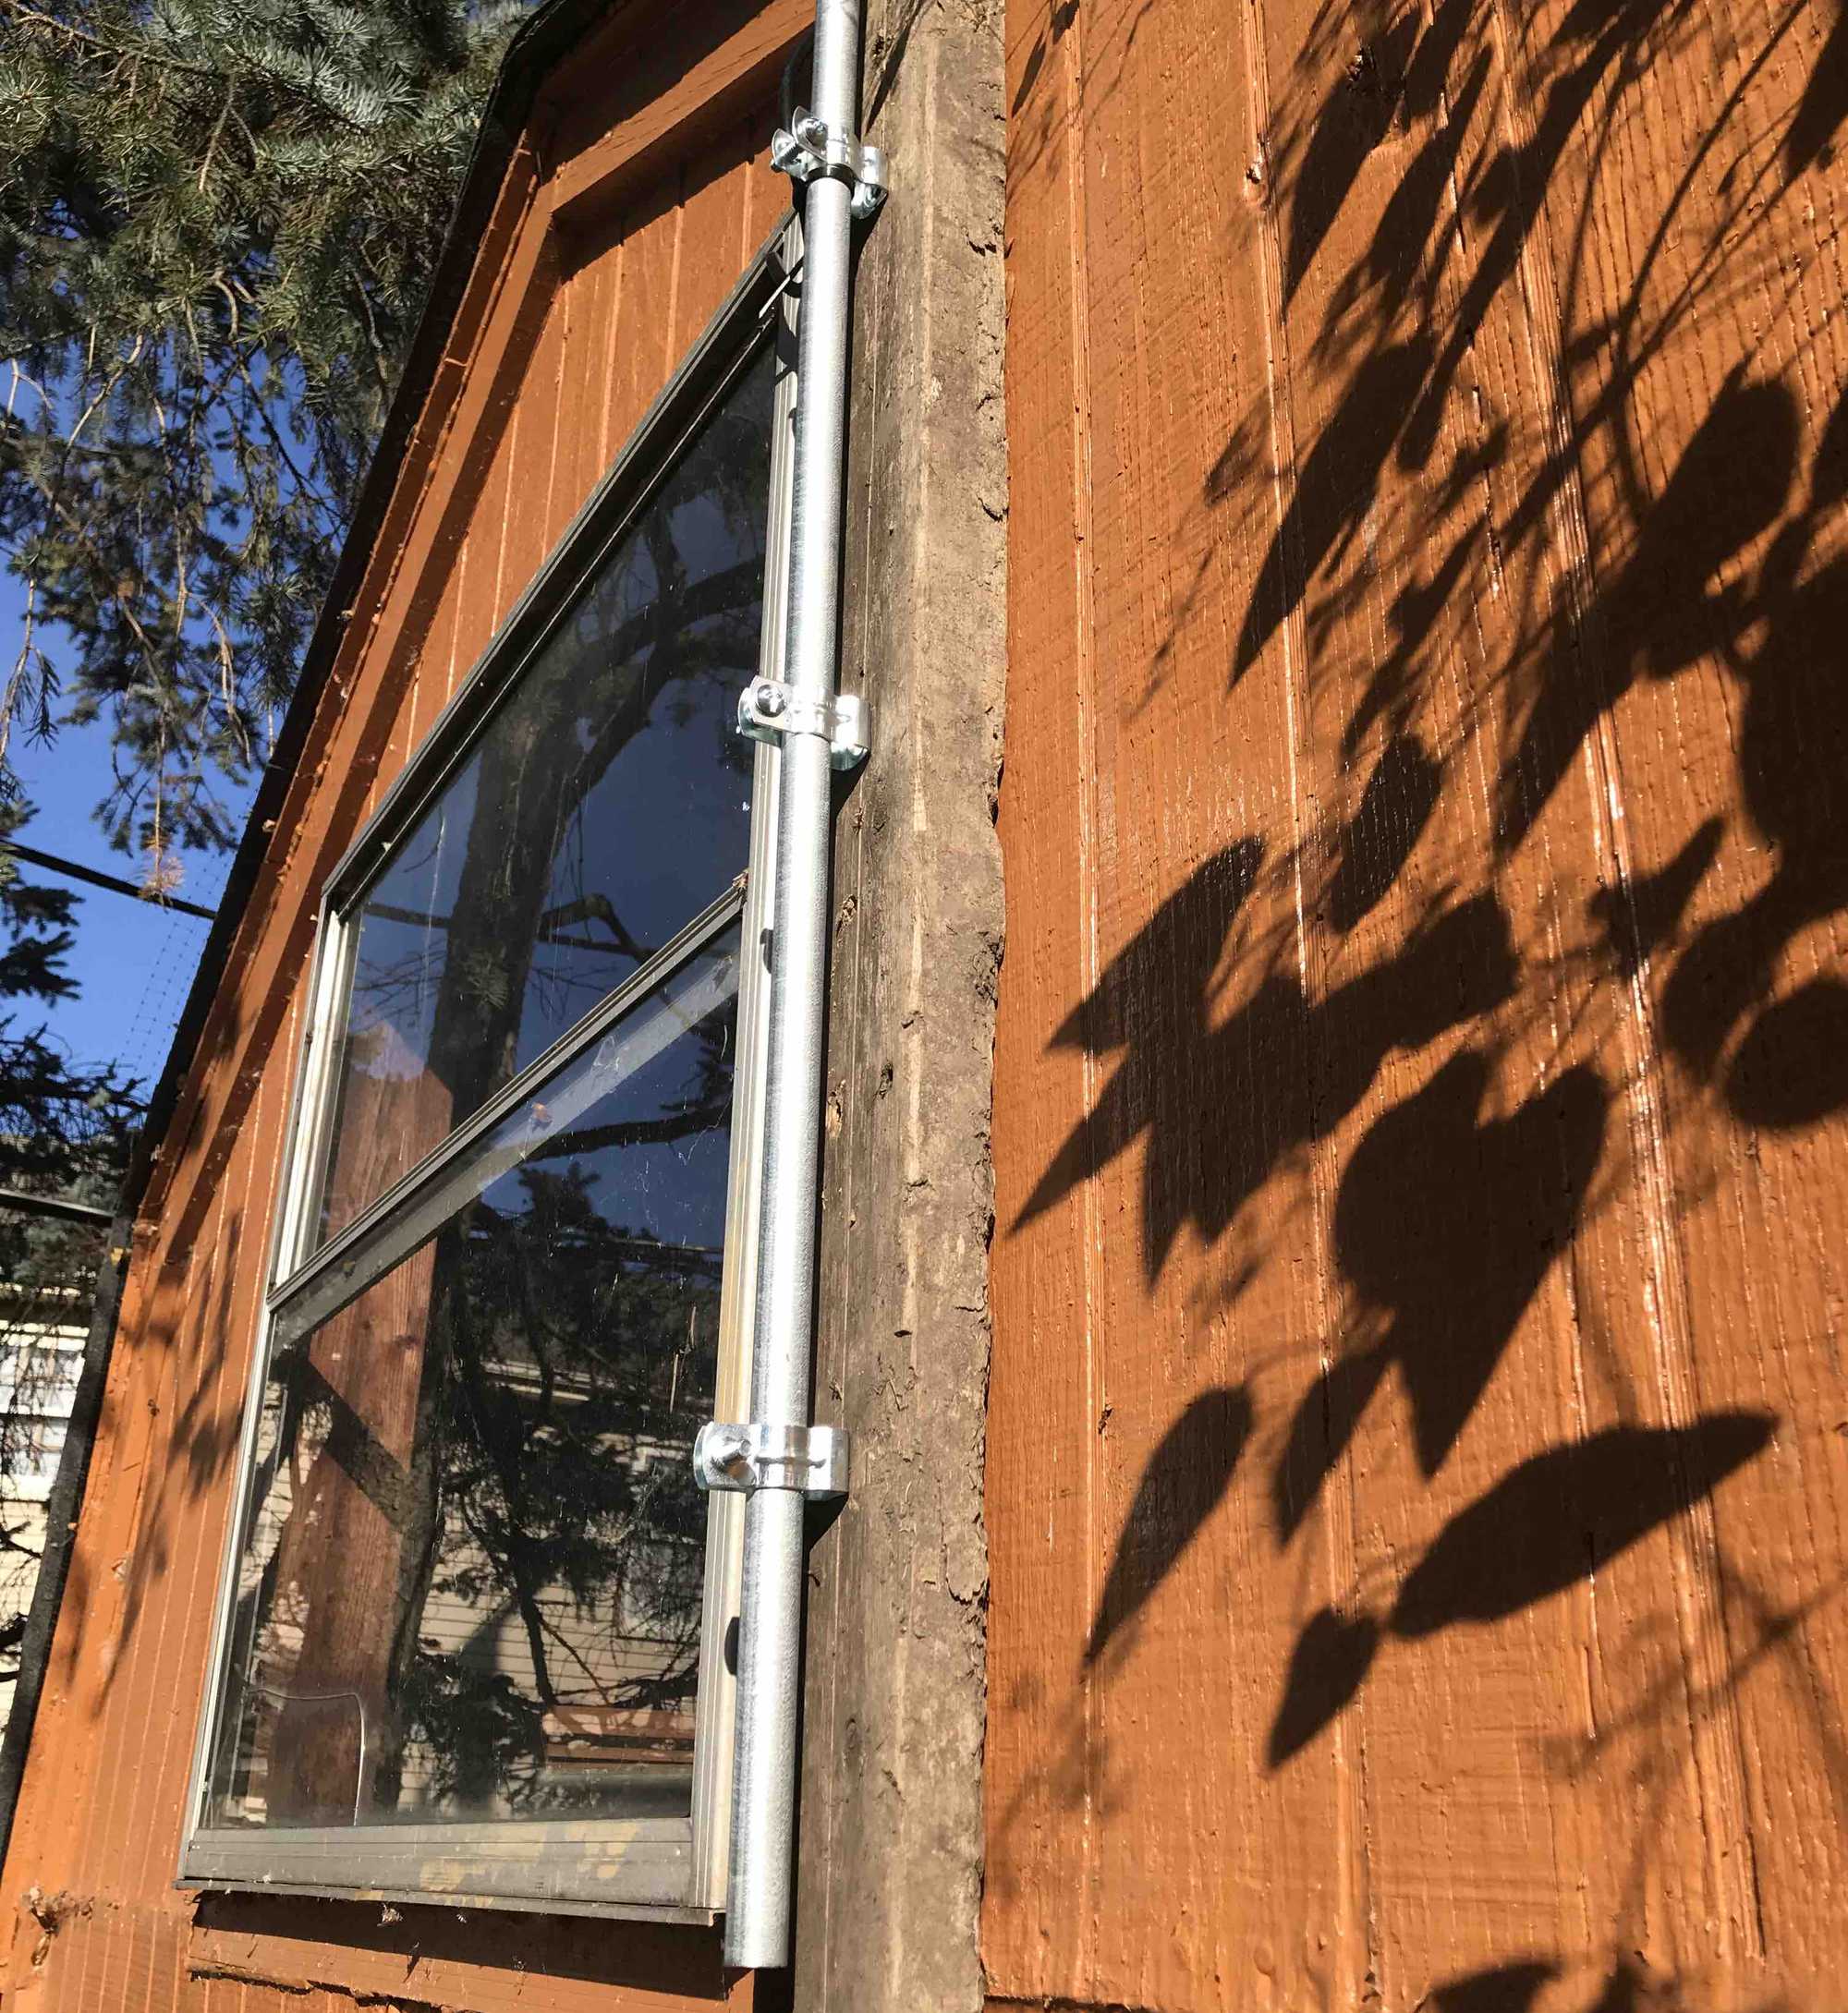
I used conduit hangers screwed to the wood and clamped to the conduit to hold the pole in place:
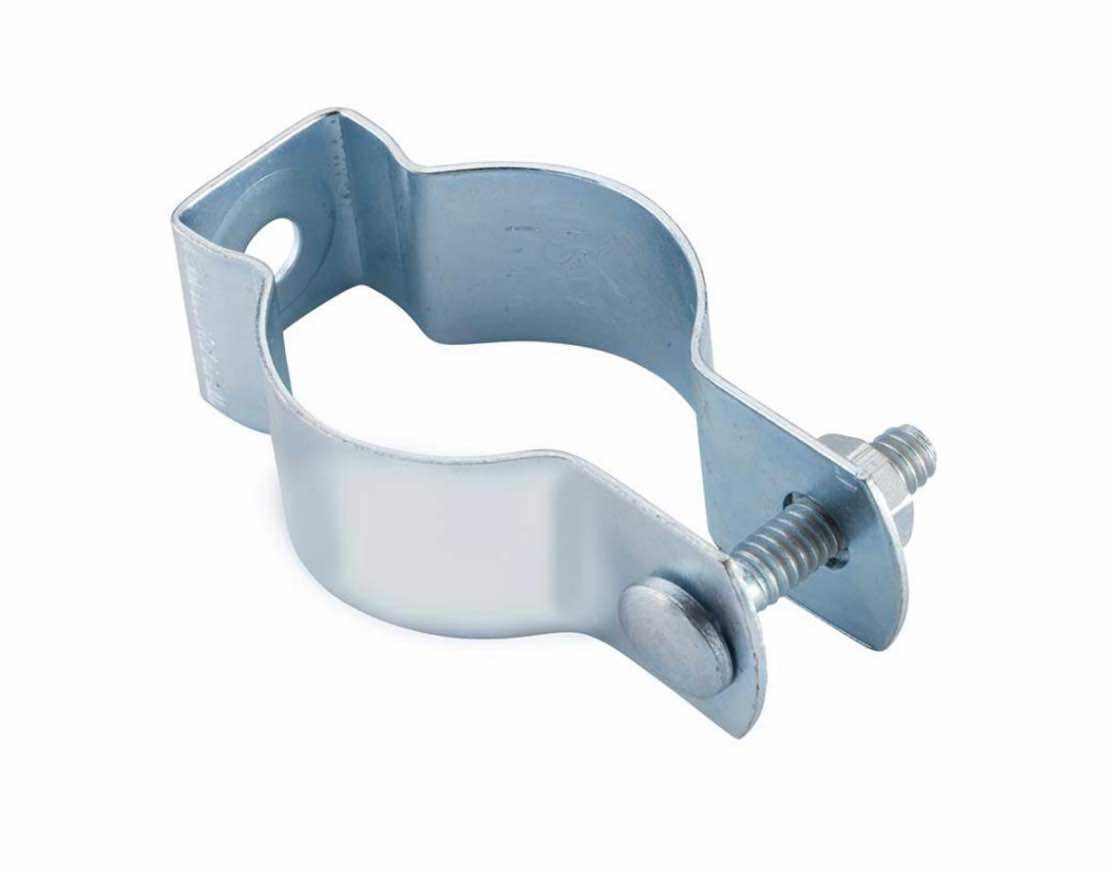
I used two more conduit hangers clamped at the top of the pole, aligned with the mounting holes in the light fixture, to hold the fixture in place. A nice thing about the clamps is you can loosen them slightly to rotate the pole to align the lights as you want them and then tighten them up again.
FWIW, the conduit and hangers are galvanized steel but not really designed for outdoor use, so eventually they’ll rust. I imagine they should last for a decade, who knows if the old sheds will still be standing that long!
I then cable tied the power cord to the pole and made sure to put a “drip loop” in the cord so rain running down the cord won’t run all the way to the outlet:
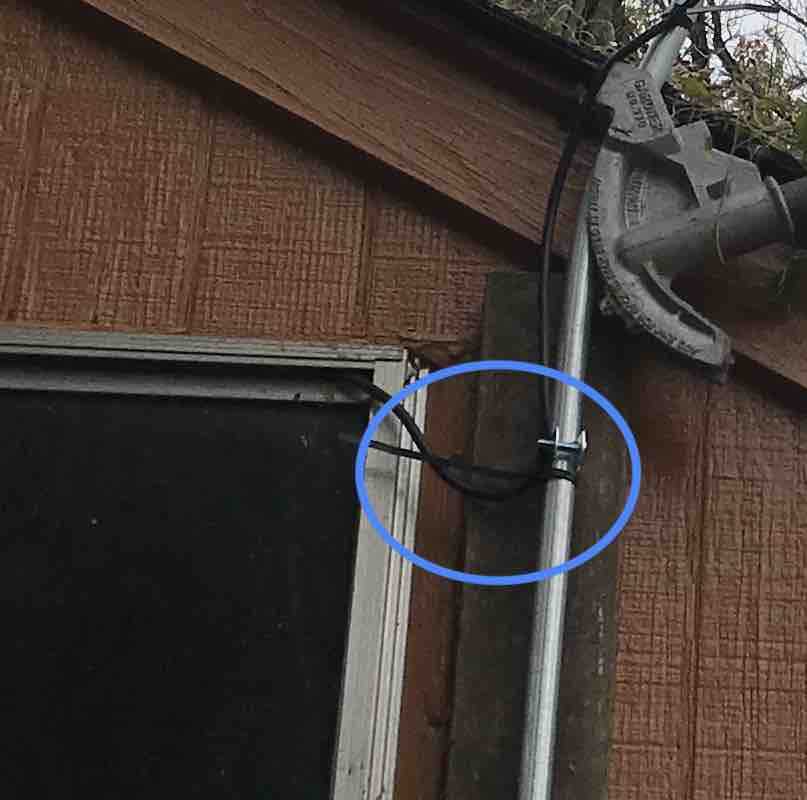
That night I turned the light on and got up on my extension ladder and adjusted the angle of the three individual lights. The straight pole ended up lighting more of my neighbor’s houses than I liked (and I’m sure way more than they would like!) while not enough of the area in front of the shed.
So the next day I used a conduit bender to bend the pole at about a 20 degree angle:
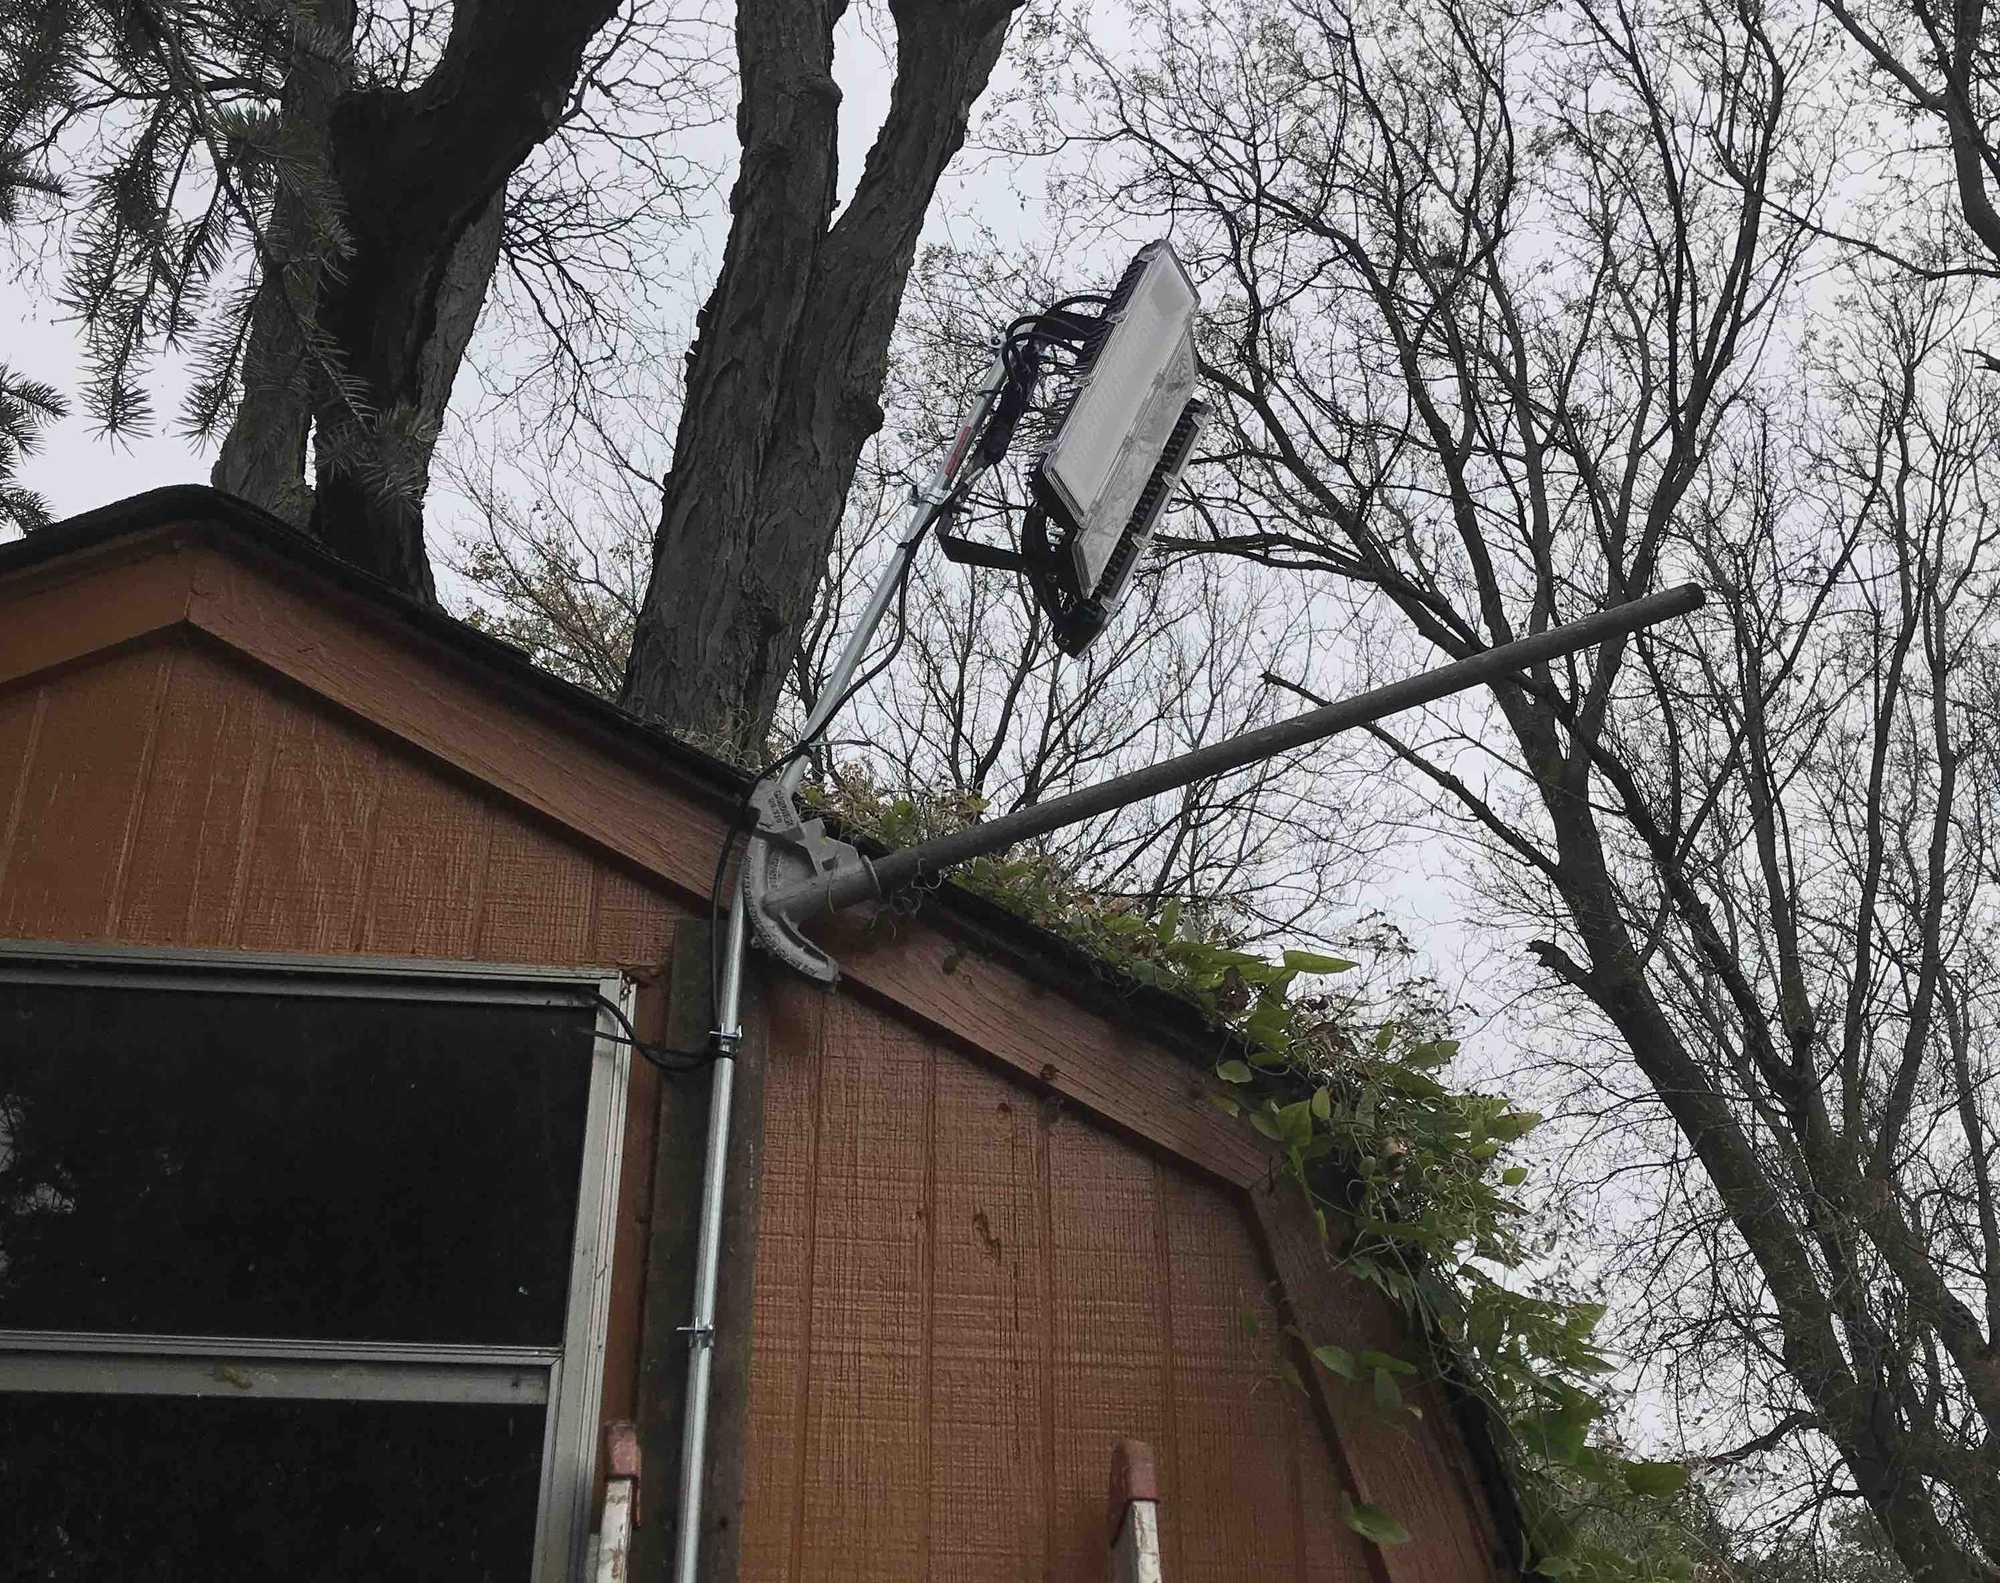
That did the trick. Here’s how it illuminates the yard:
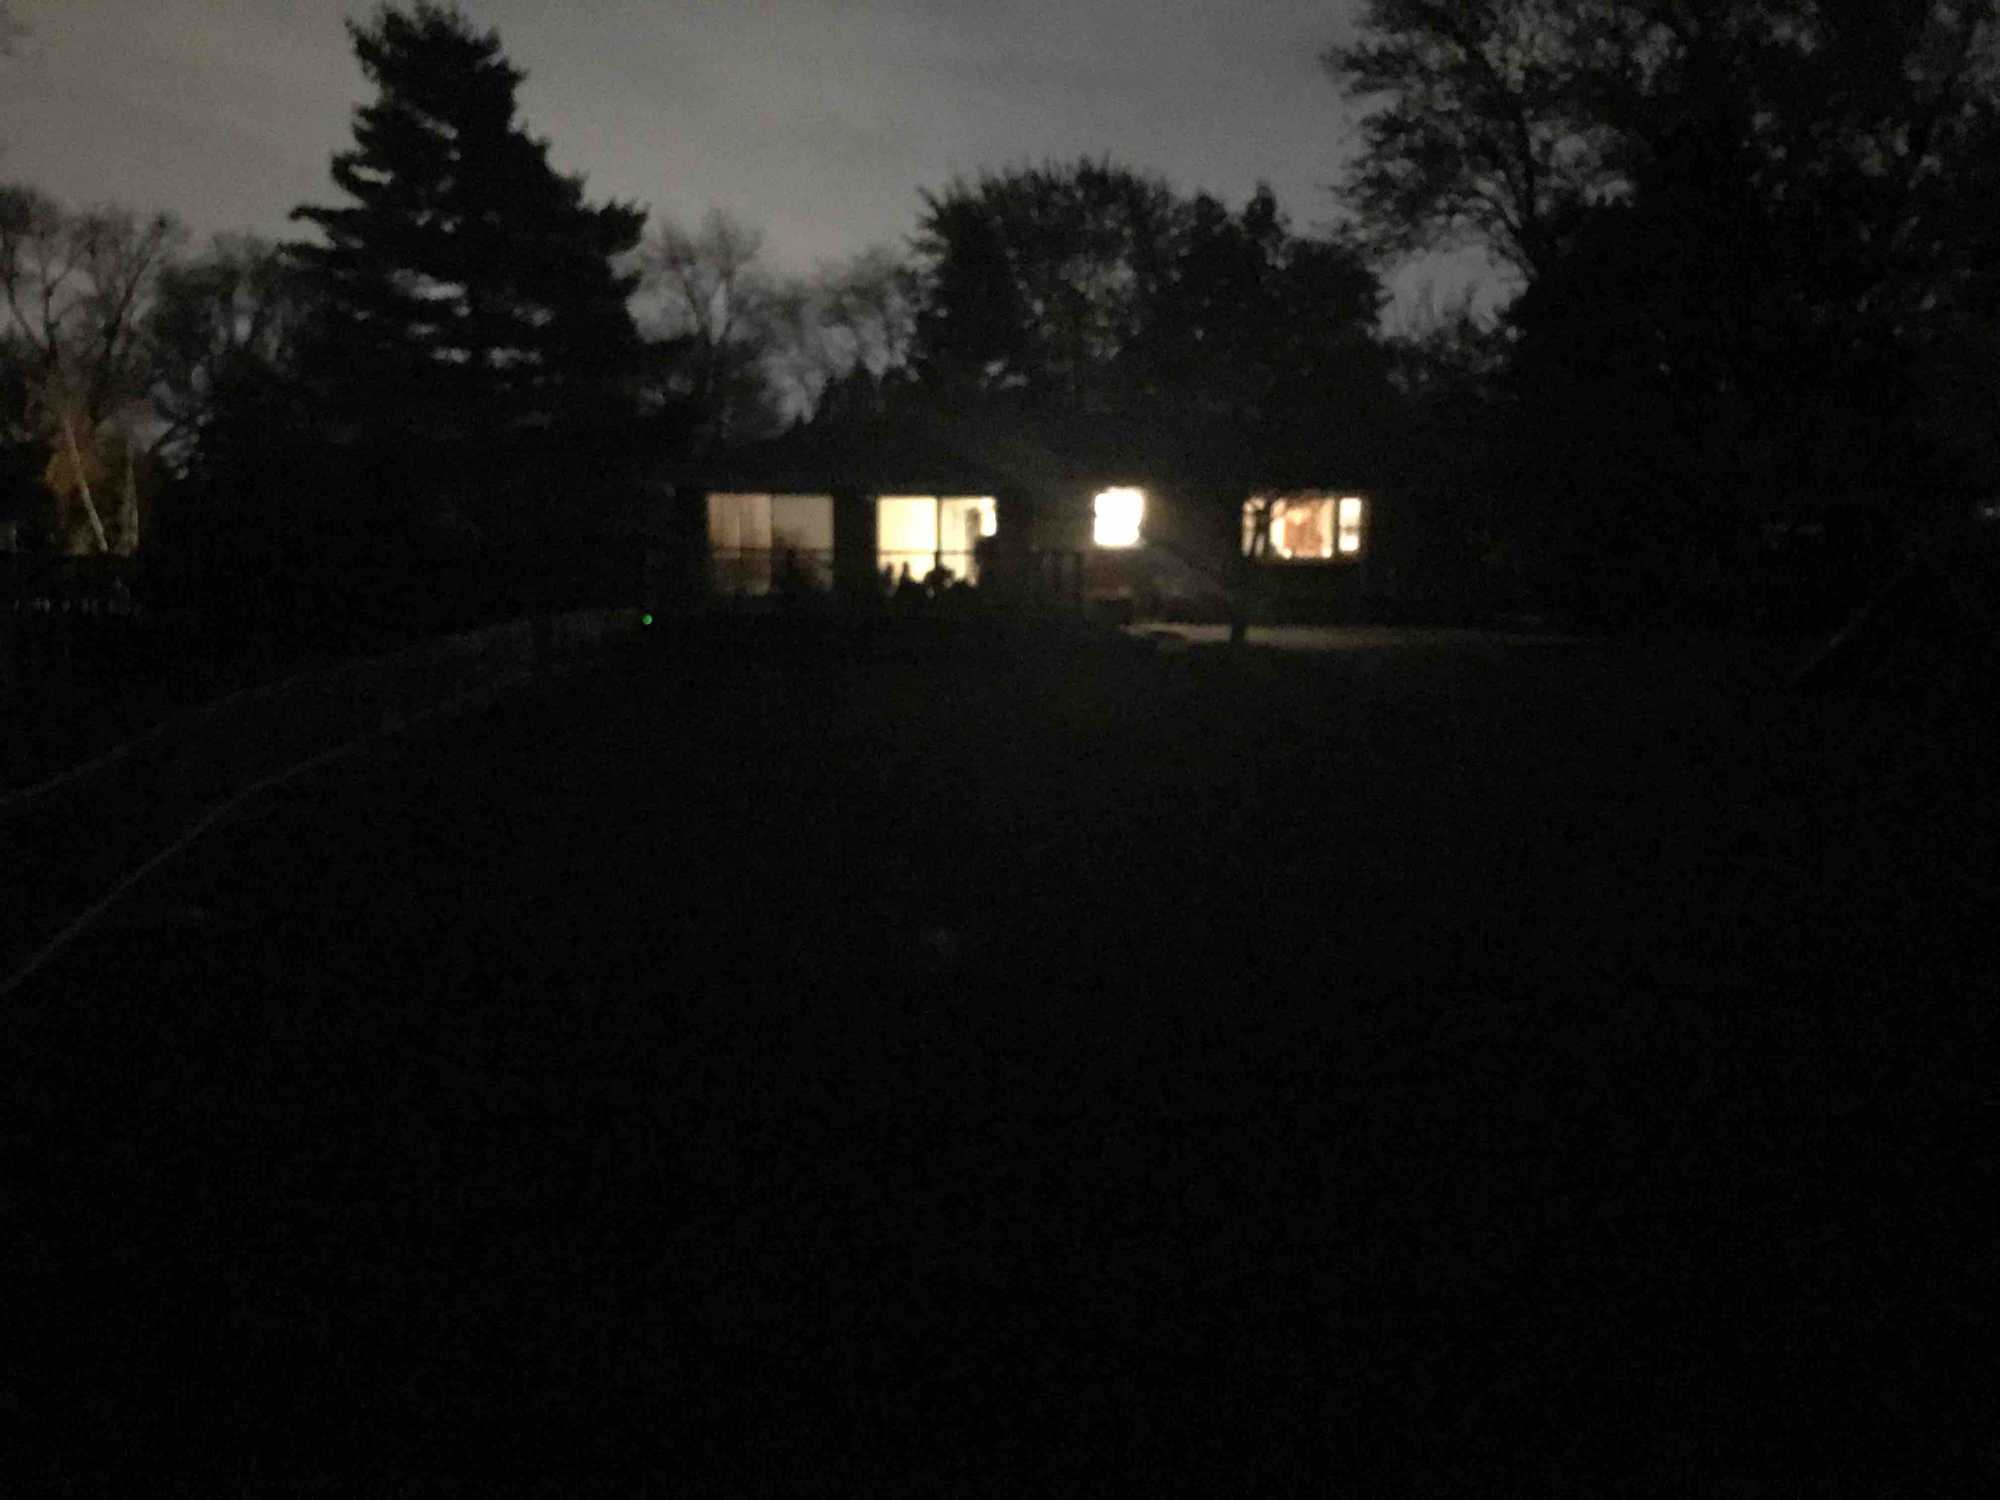
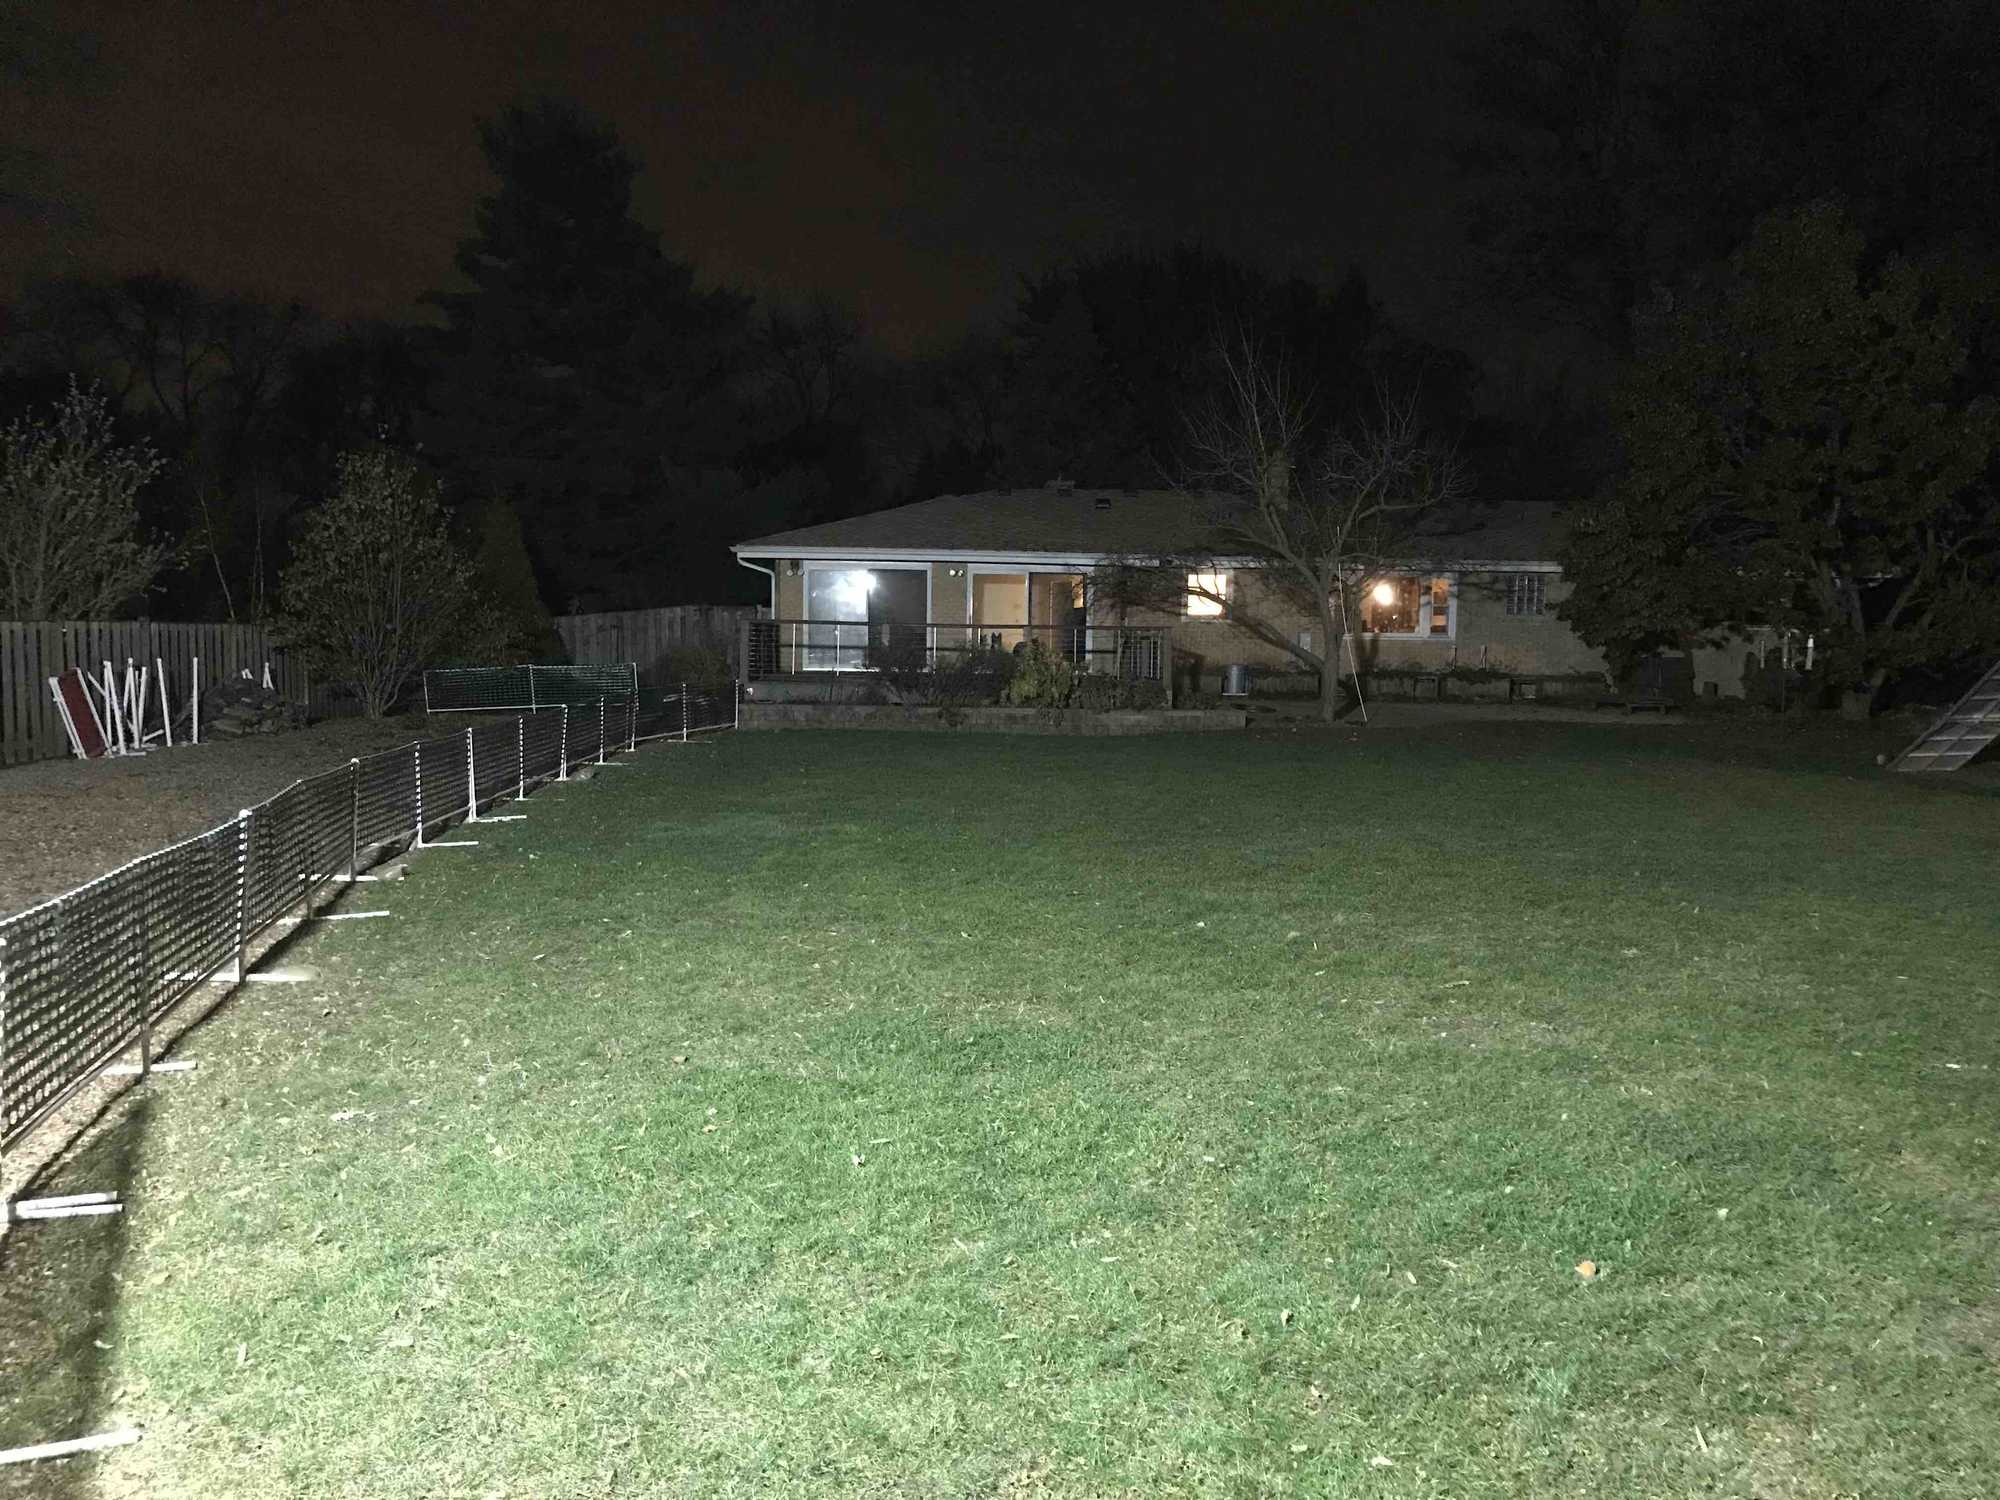
It’s bright! You might be able to see Snap! and Flyer lit up inside the house if you look carefully!
I’d say the lights throw useful light in an arc to about 60 ft from the pole. If you played around with the mounting height/angle you might get a little larger radius. I’d think if you were trying to uniformly light a field you might try putting one of the 50 watt units every 50 feet all around the ring. But definitely experiment before buying a lot of fixtures and installing poles.
Thanks to my lighting “upgrade” we did get more training/playing in on the cold dark nights this past winter and it wasn’t too expensive of a project.
If you enjoyed this article won't you please:  Thanks!
