PVC Moveable Ring Dividers/Gates/Fencing
27 May 2019
My backyard turns to a muddy mess in the Spring and Fall so I’m converting a section of it to playground mulch where I can train and play with my dogs when it’s muddy out, hopefully, reducing wear and tear on my yard. So I wanted to have a moveable fence I could use to keep the dogs in that area. I measured some PVC gates at local agility facilities and came up with a simple design that minimizes the number of pieces of PVC, fittings and saw cuts.
Materials
I’m using 3/4 inch Schedule 40 PVC throughout. You could use 1 inch but it is probably heavier and more costly than required. The pipes come in 10 foot lengths so I made each gate nominally 10 feet long. The design uses two 10 foot pipes for the top and bottom bars respectively and a 3rd pipe is cut up for the vertical supports and the feet (but you may not want to follow my original design - see below).
Regardless of sizes, you’ll need the following PVC fittings for each jump:
- (2) 90 degree/elbow
- (1) Cross
- (6) Tees
I found I could buy the 90 degrees and tees in bags of 10 for a lot less than individual fittings.
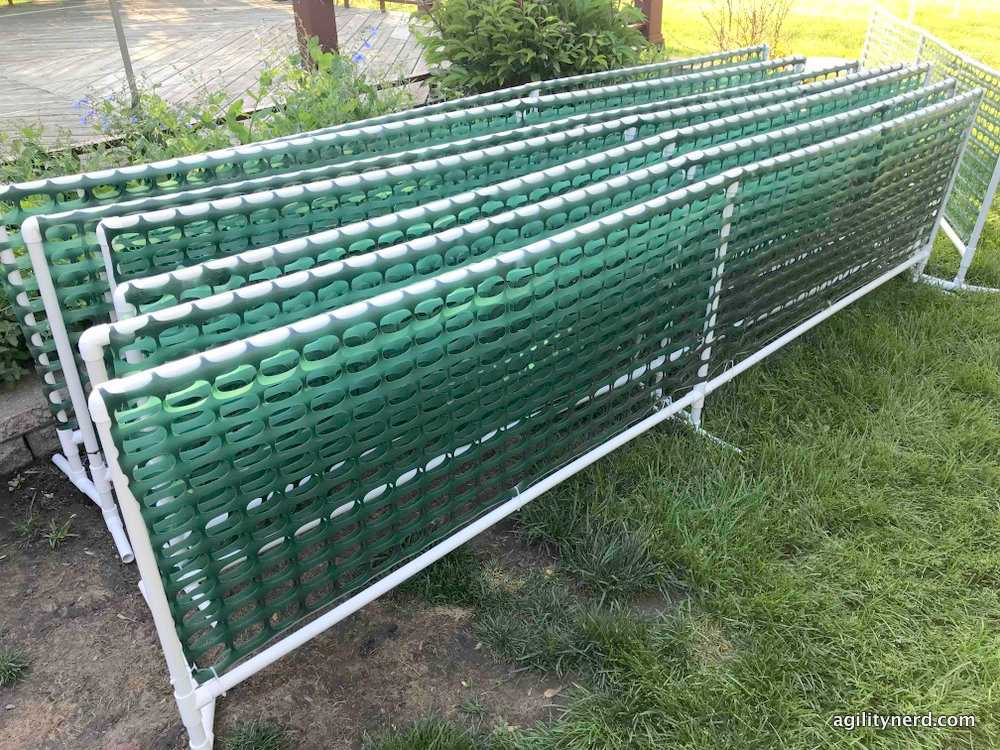
To fill the PVC frame I used plastic safety fencing (also called construction fencing) that comes in 50 foot or 100 foot rolls of 4 foot widths at big box hardware stores. I’ve seen it in orange, green, and black colors. Because I’m lazy, I decided to “wrap” the fencing around the top of the PVC frame and fasten it with cable ties to the bottom of the frame. This meant the height of my frames couldn’t be taller than 24 inches. If you are willing to also cut the fencing in half length-wise you could make slightly taller frames where the fencing is suspended by cable ties inside the PVC frame.
You’ll need 8-10 8 inch cable ties for each fence to secure the fencing to the PVC frame.
Design
I made this spreadsheet to calculate the number of PVC fittings and PVC pipe according to your own sizes.

I set the “verticals” height according to the size of my fencing. I think I’d shorten the verticals from 24 inches to 23 inches so there is a smaller gap between the bottom of the fencing and the PVC frame (see photos at the end).
I originally made the length of the feet 6 inches so all the feet fit in the remainder of my 3rd PVC pipe. But even as I was building the gates the wind was knocking them over! So I went out and bought more PVC and will change the feet to each be a foot long. I think if the gates are used indoors you could use the 6 inch long feet. If you make that change in the spread sheet you’ll see the “Additional PVC pipes” field will show you how many more to buy. Heck, always buy a few extra pipes; you never know when you’ll mis-measure or mis-cut and you can always return the unused pipe.
My last tip: build one gate completely to make sure you are happy with your measurements before cutting a lot of PVC!
Building
I used an electric miter saw (aka “chop saw”) to cut up my PVC pipe. You can use a hand PVC saw or a PVC pliers-type cutter if you are only making a few gates.
Always: “Measure twice and cut once”!
If you are making a lot of gates I recommend using a cut piece as your template and lining up the uncut pipe with the cut piece so each piece is the same length (and it’s faster than measuring each cut). For each size of cut I slid my chop saw the correct distance from a wall in my garage so I could push the pipe until it touched the wall, and then cut all of the pieces I needed from each pipe. That insured each piece was then cut the same length. You can also clamp a block of wood on your chop saw at the right distance to repeatably make smaller cuts.
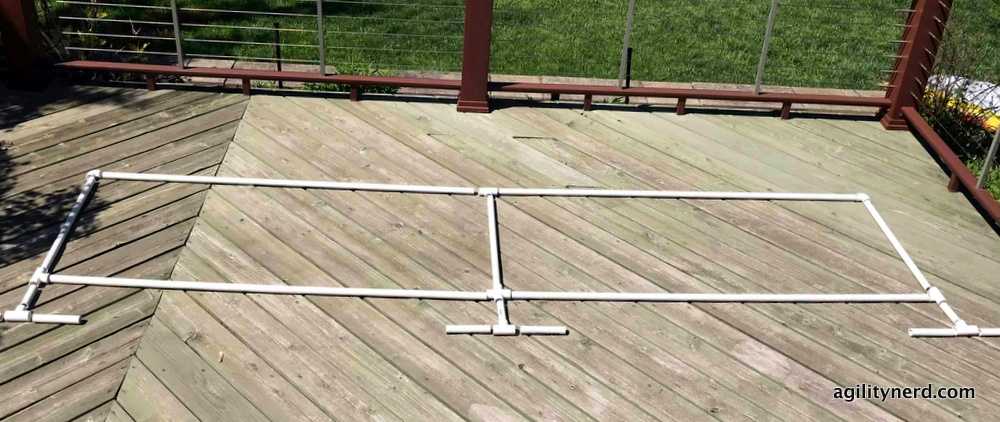
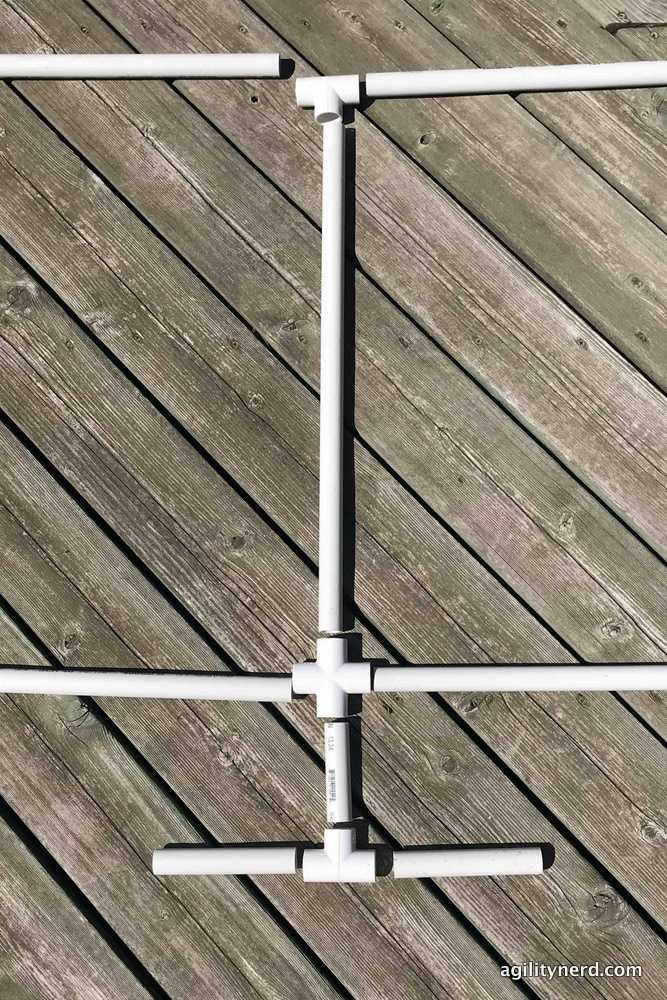
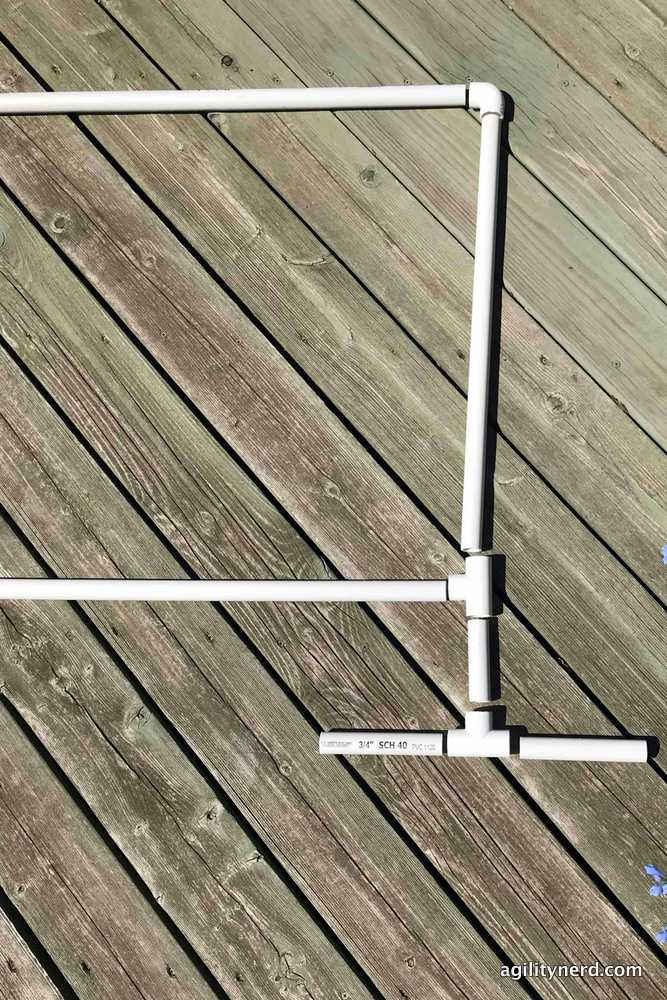
I didn’t glue any of the PVC fittings together; they fit tight enough. I put each piece of pipe in it’s fittings and hit the assembly against the ground for a tight fit. I put the “box” of the frame together without the feet and then used my weight to press the whole thing against the ground and rotated 90 degrees repeating until all the joints were tight.
Update: I’ve since changed my mind about just pounding together the PVC and fittings: PVC - Screw It, Don’t Glue It!
Then I put together all the feet and put them on the bottom of the frames. Again using my weight to press everything together. You can spin them flat to make storage of the gates easier.
When it was time to install the fencing I cut it’s length so it fit within the frame. I didn’t want any plastic fencing edges extending past the end of the frame where dogs could brush against their edges.
I used 8 inch cable ties to secure the fencing to the bottom of the frame and also one on each edge of the frame. By wrapping the fencing over the outside of the frame this meant fencing and cable ties helped hold the frame together.
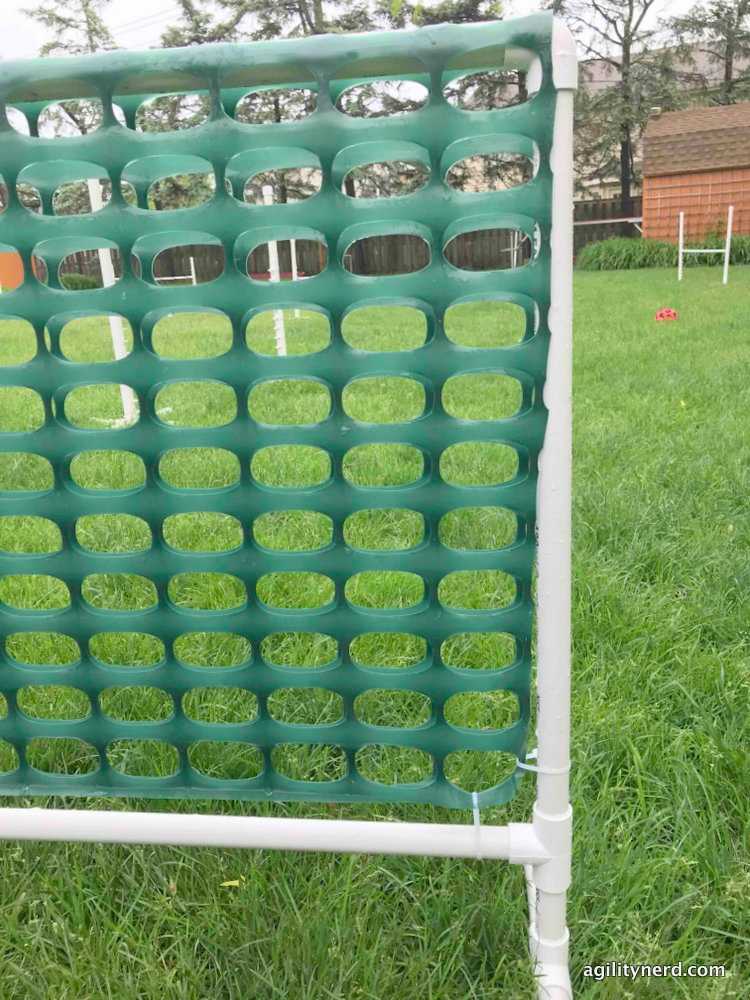
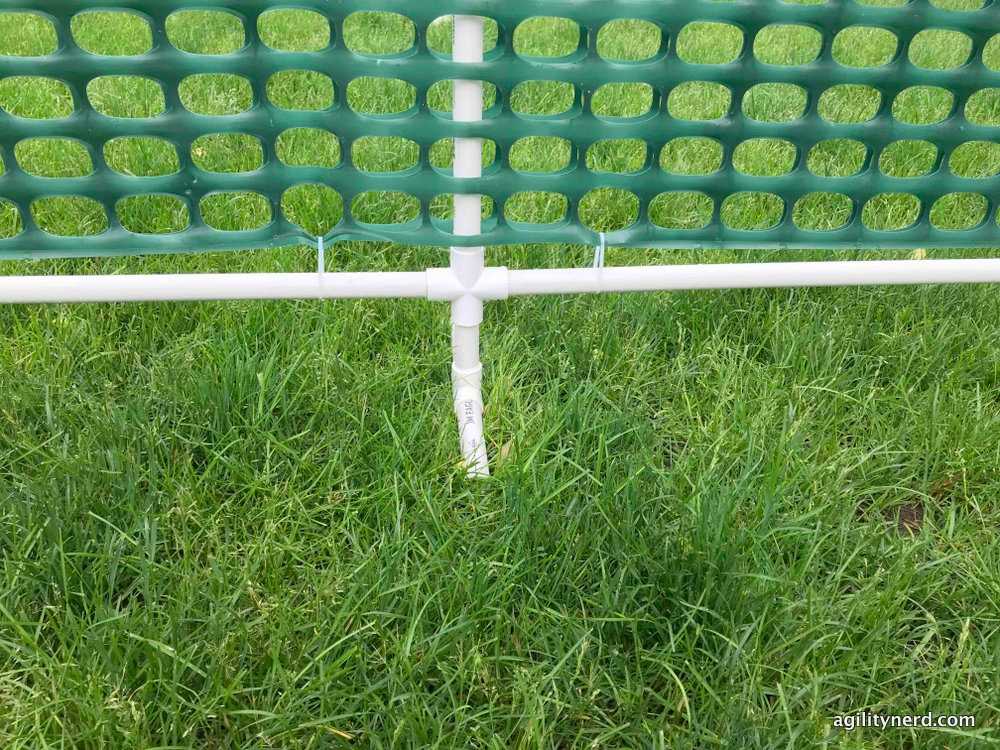
This was a simple project and I hope it helps you build your own PVC gates.
If you enjoyed this article won't you please:  Thanks!
